Key Functions
- Add a Client
- Bulk Upload Clients
- Managing Client Information
Video Guide
Adding a Client
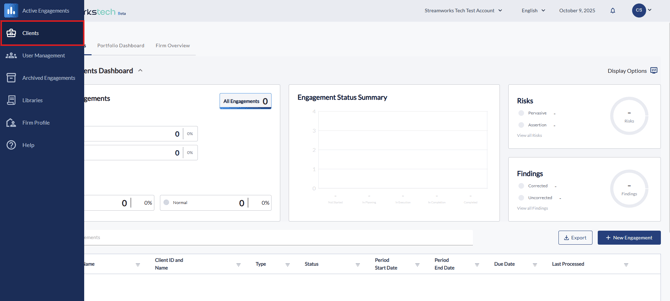
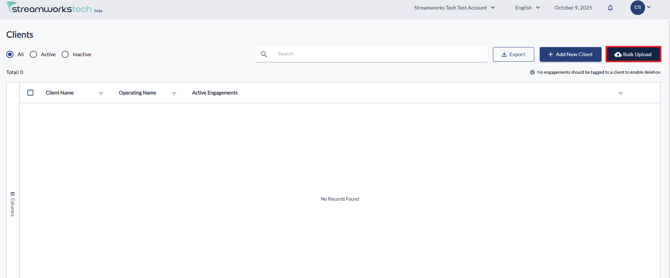
- On the left menu bar, an icon will be available to navigate to "Client Dashboard"
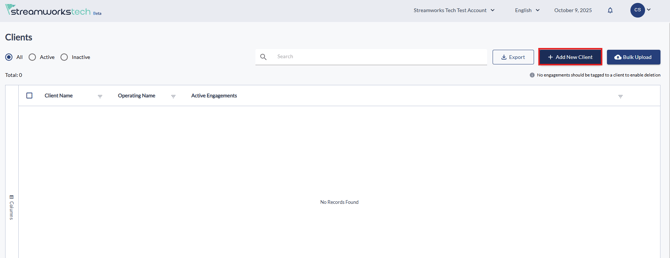
- To add a new client click the "Add New Client" button.
- You will need to fill in all text boxes with a red asterixis to complete the process. However, it is recommended you add in as much information you have so that the data persists into engagements.
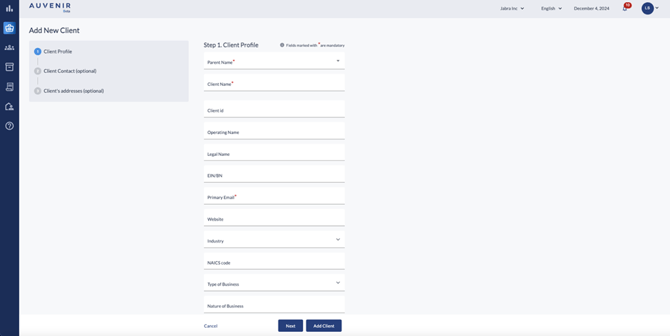
- Clicking 'Next' will bring you to more information you can provide about the client.
- Click 'Add Client' to create the client ready for engagements.
Bulk Uploading Clients
- To bulk upload a client list you can click the "Bulk Upload" button.
- You can then download the "Bulk Upload Template" from the popup to fill in.
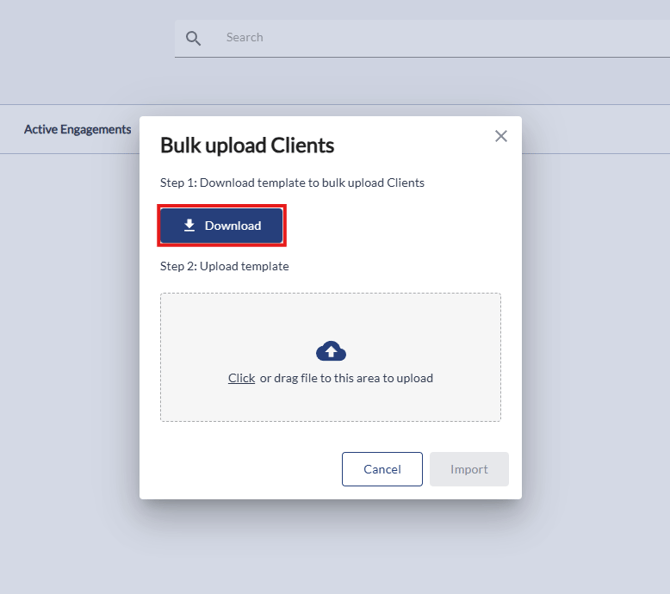
- After filling in the Bulk Upload Template and saved it, you can return to the "Bulk Upload" pop up and insert your template for upload.
Managing Clients
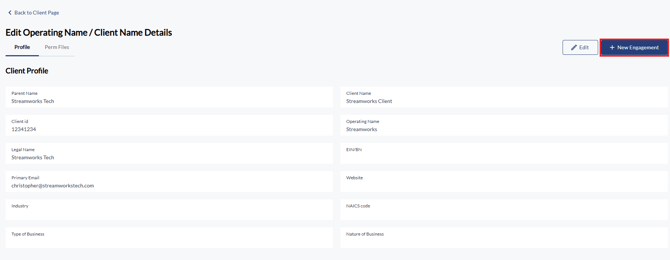
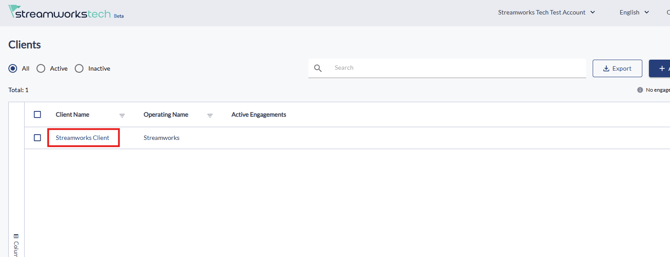
- After uploading a client, you can click on the name to review the information in their profile.
- To further edit any information, you can click "Edit" in the top right hand corner.
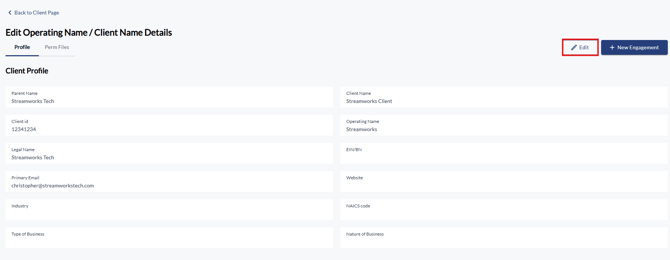
- You can also create a new Engagement that will tie to the client here, check out this guide on creating an Engagement.